Match Extensions to Client Hair Thickness and Density
Why both thickness and density matter for buying
A client can have very fine strands but a high count of hairs per square centimeter, which gives good scalp coverage but little visual weight at the ends. Another client can have medium-coarse strands with low density, especially at temples and nape, where every bond shows if placed too high or too heavy. Before ordering, look at client in diffuse daylight, lift top section, and check how hair moves when air-dried. Photos help keep record, but do not replace live check for natural wave, shine, and breakage pattern. This distinction is especially important for repeat salon orders where you plan stock for several clients and need consistent results.
Low-density zones support fewer bonds, so weight per point should be lower there, even if overall head could support more. High-density zones can hide more bonds if properly sectioned. Growth pattern around hairline and ears — cowlicks and directional growth — may need smaller bonds to keep tension low and reduce risk of discomfort or traction-related stress. When technique is correct, risk decreases, but it does not promise zero shedding — mild shedding can be a normal part of growth cycle, especially if aftercare is not followed.
How to compare donor hair to natural hair in practice
When you evaluate a lot, ask supplier for loose bundle photo against neutral gray background, not only tightly tied ponytail which hides true fullness. Compare three points: thickness of single strand under light, natural wave when air-dried, and how ends stack when bundle is spread. Very coarse or heavy donor strands on fine natural hair often create sharp contrast line. In that case, select closer texture, plan lighter weight per bond, and distribute points conservatively around fragile zones. This may lower risk of discomfort and tension-related shedding, though it does not guarantee absence of shedding.
Many experienced buyers also reference advice on matching hair color and texture when fine and dense cases require different blending strategies, especially when client switches between straight and wavy styling between appointments.
What to confirm with the supplier
Clarify how batch was weighed, whether any coating alters texture after first wash, and what is included in stated length and weight. Does gram figure include packaging or keratin? What is tolerance on bond weight? How is usable length measured? Keep the written reply with an order card listing natural length, density at crown, temples, nape, goal (length, volume, or both), shade family, texture, and desired finished length. For first purchase from new vendor, start with sample instead of bulk. Treat all gram and bond numbers as a guide, not a fixed rule — result depends on haircut, technique, and care.
Small ordering process that saves corrections
- Document natural density at crown, temples, nape separately. Photos in diffuse daylight without filters help.
- Define if service is to add length, fullness, or rebuild shape after short haircut.
- Choose movement first, then shade harmony, then weight distribution.
- Plan placement that avoids overloading thin zones; vary bond size and spacing.
- Confirm return conditions for unopened bundles and how discrepancies are handled.
The final decision should come from client brief, actual bundle in hand, and technique you use.
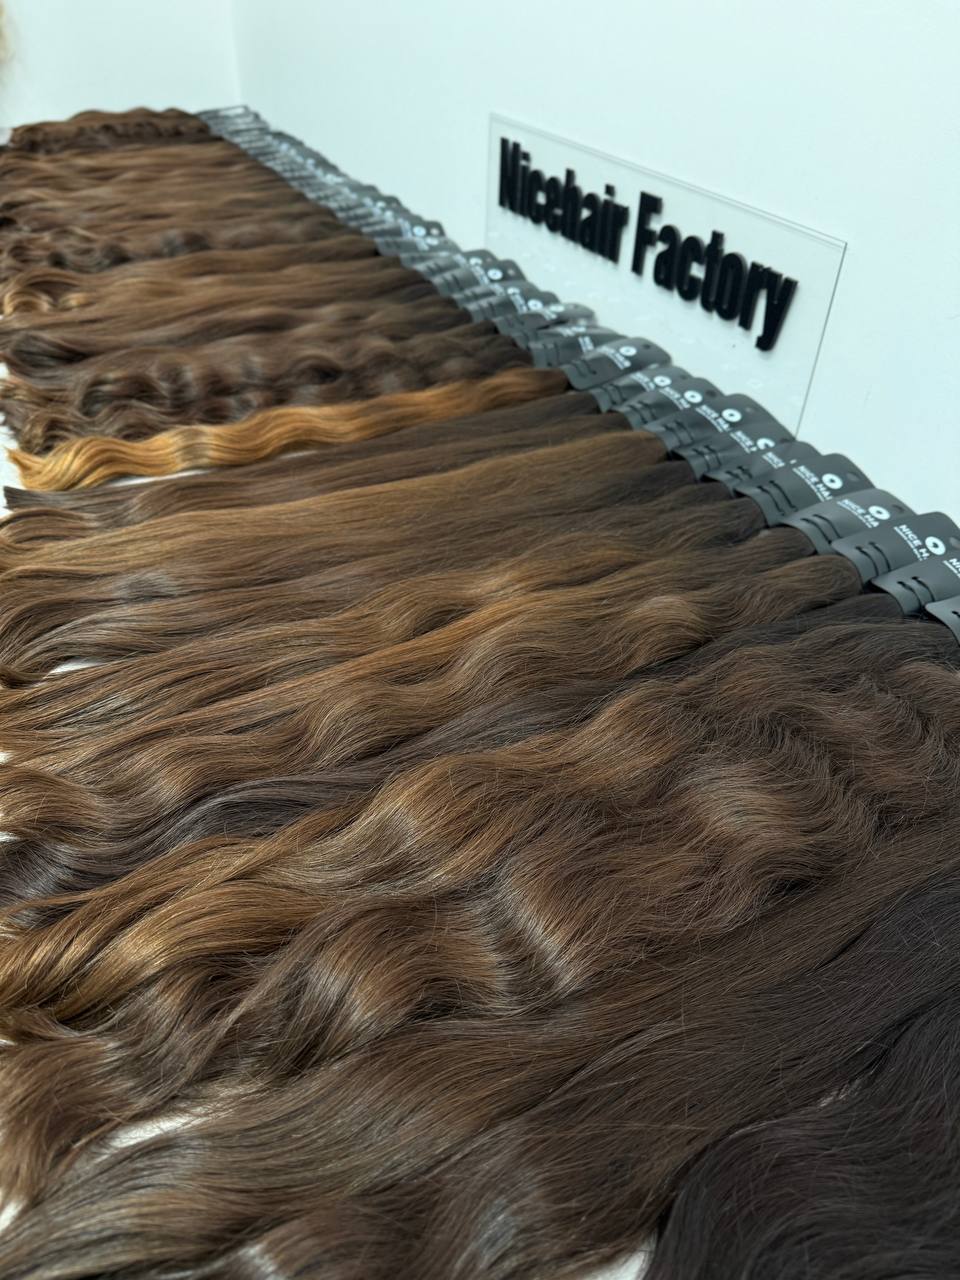
B2B checklist: what to document before you buy for thickness and density
Before you lock budget in stock for this category, run this quick checklist. It takes five minutes and saves a correction appointment:
- Strand test: fine, medium, coarse at crown and temple. Note if client has mixed diameters.
- Density map: estimate low/medium/high at front hairline, temples, crown, nape. Mark fragile zones on card.
- Haircut line: blunt line needs more blending weight, layered soft ends need less. Note previous breakage.
- Goal: length, volume, shape rebuilding, or combination. Volume-only needs less length.
- Texture when air-dried: straight, soft wave, pronounced wave. This changes perceived weight.
- Sensitivity history: previous discomfort, itching, or traction-related stress with heavy bonds.
- Photo set: front, side, back, top lifted section, all in diffuse daylight.
Keep this card with supplier answer about weighing and bond tolerance. For new vendor, add sample wash result to card.
How to explain thickness vs density to a client
Clients often say "my hair is thin" when they mean either fine strands or low density, and those need different solutions. Use simple language: thickness is how thick one hair is, density is how many hairs you have. Show them on their own head — lift top layer and count visible scalp. Explain why you will use lighter bonds around temples if density is low, and why you may need more points, not heavier points, if density is high but strands are fine.
Pitch example: "You have fine strands but good density at crown, so we will not overload one point. We will use more lightweight micro-bonds around your hairline to keep it soft and reduce tension. It means comfort and a line that grows out more naturally." If client reports pain, itching with inflammation, or persistent tension after previous extensions, advise them to return for adjustment and, if needed, consult a professional. Do not promise zero shedding.
Inventory and storage tips for mixed thickness lots
If you serve both fine-hair and dense-hair clients, keep stock separated by both weight per bond and strand diameter, not just shade. Label shelf bins: Fine 0.5-0.6g micro, Standard 0.8-1.0g, Coarse texture. Store bundles flat, dry, away from sun, with photo of loose spread attached to bin. This helps you avoid grabbing heavy coarse hair for a fine-hair client in a rush.
For accounting, use first-in first-out, track sample wash dates, and note which lots needed extra blending cut. If a lot had strong coating that changed after first wash, mark it so you do not reorder same composition for fine-hair clients. This keeps cash from being locked in unsuitable stock.
Mini-case: same weight, different results
Dense client with medium-coarse strands, high density at crown, wants length 50 cm. You place 0.8 g bonds, 130 points, result looks balanced. Same 100 g on fine low-density client with fragile temples — you must switch to 0.5 g micro, 160 points but spread wider, lighter around perimeter, otherwise line looks heavy and tension rises. Both used similar grams, different distribution. Photos on order cards help repeat success.
Aftercare handout you can give to clients with fine or dense hair
Include short written note with appointment:
- First 48-72 hours: avoid high ponytails and heavy oils near bonds, sleep with low loose braid if length allows.
- Washing: use lukewarm water, gentle sulfate-free shampoo, condition mid-lengths to ends, avoid scrubbing bonds. Pat dry, detangle from ends up.
- Brushing: soft flexible brush, hold roots, do not pull through knots at bond line.
- Styling: keep heat away from attachment points, use heat protectant. For fine hair, avoid heavy wax near roots.
- Maintenance: book correction interval as agreed, typically 2-3 months as a guide depending on growth rate and care. If you feel pain, unusual itching with redness, or persistent tension, contact your stylist promptly and do not try to remove bonds yourself.
This handout reduces after-hours messages and supports consistent home care, which influences how long extensions keep a blended look. It also helps client understand that result depends on both salon work and at-home routine, not only on gram amount.
04.11.2026
See also
